GPIO (General Purpose Input and Output) and Physical Computing on the Raspberry Pi
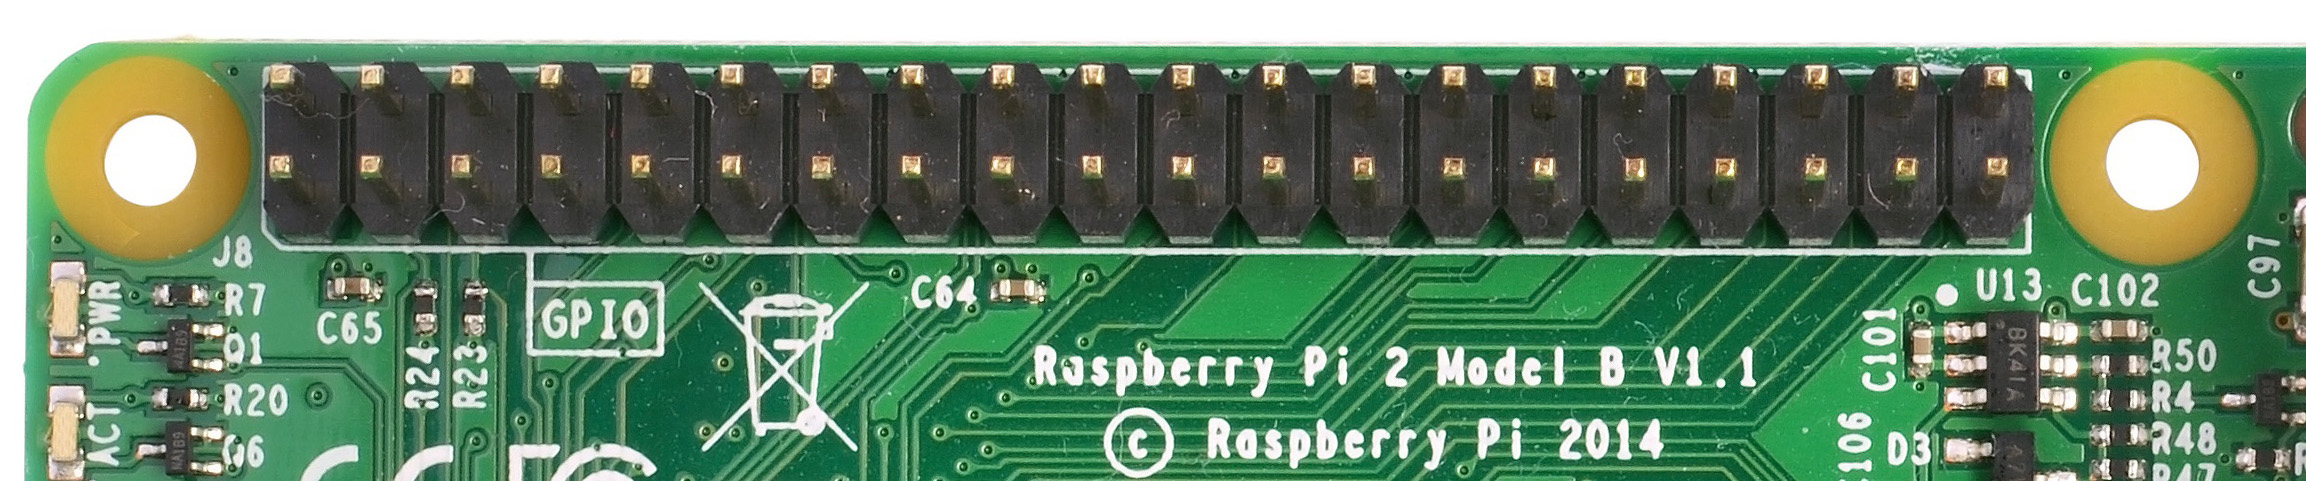
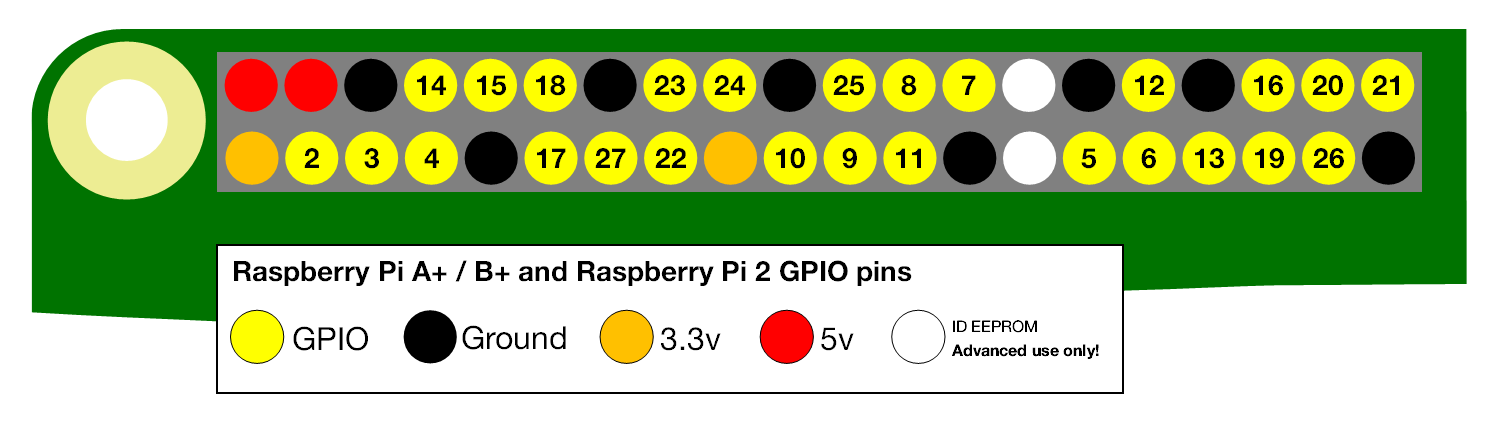
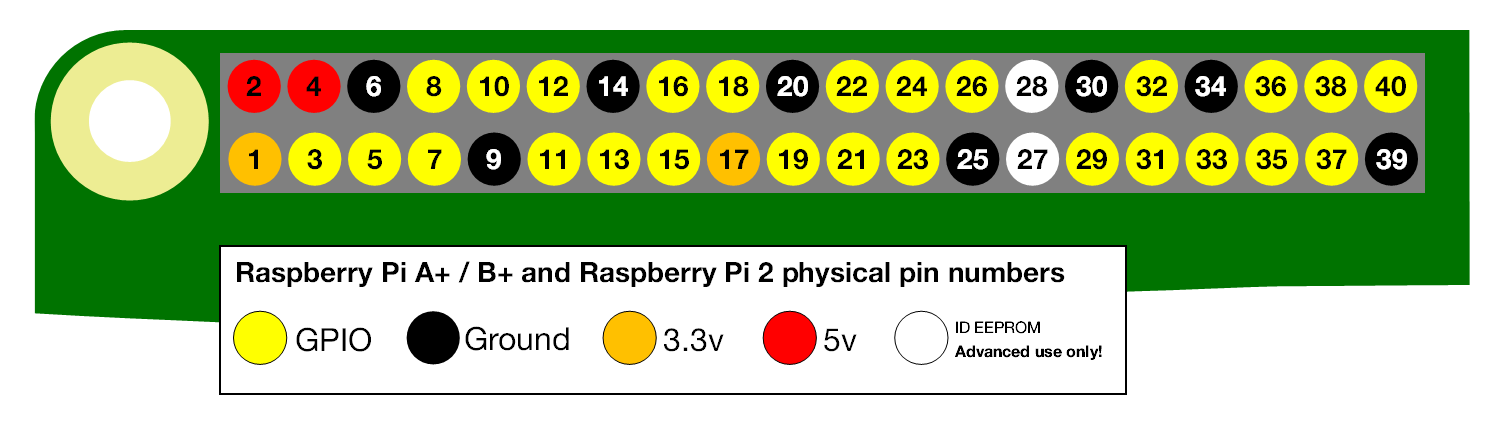
GPIO pins are a physical interface between the Pi and the outside world.
It could be acted like a switch to turn on or off (input or output).
There are 26 GPIO pins out of 40 pins and the others are power and ground pins and two ID EEPROM pins.
What can you do with GPIO?
You can program these pins to interact in different ways with real world applications.
Input can come from a physical switch or from a sensor or a signal from another computer or device.
The output can also do anything from turning on and off an LED or sending a signal or data to another device.
If you connect your Pi on a network or internet, you can control your devices
that are attached to it from anywhere and those devices can also send data back.
Connectivity and control of physical devices over the internet is a powerful and exciting thing, and
the Raspberry Pi is ideal for this. There are lots of brilliant examples of physical computing.
Reference: www.raspberrypi.org
Hard wares:
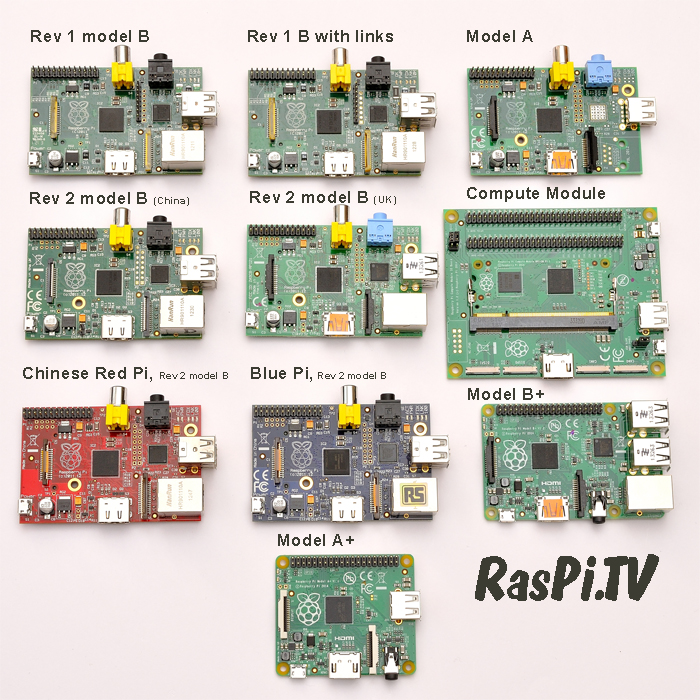
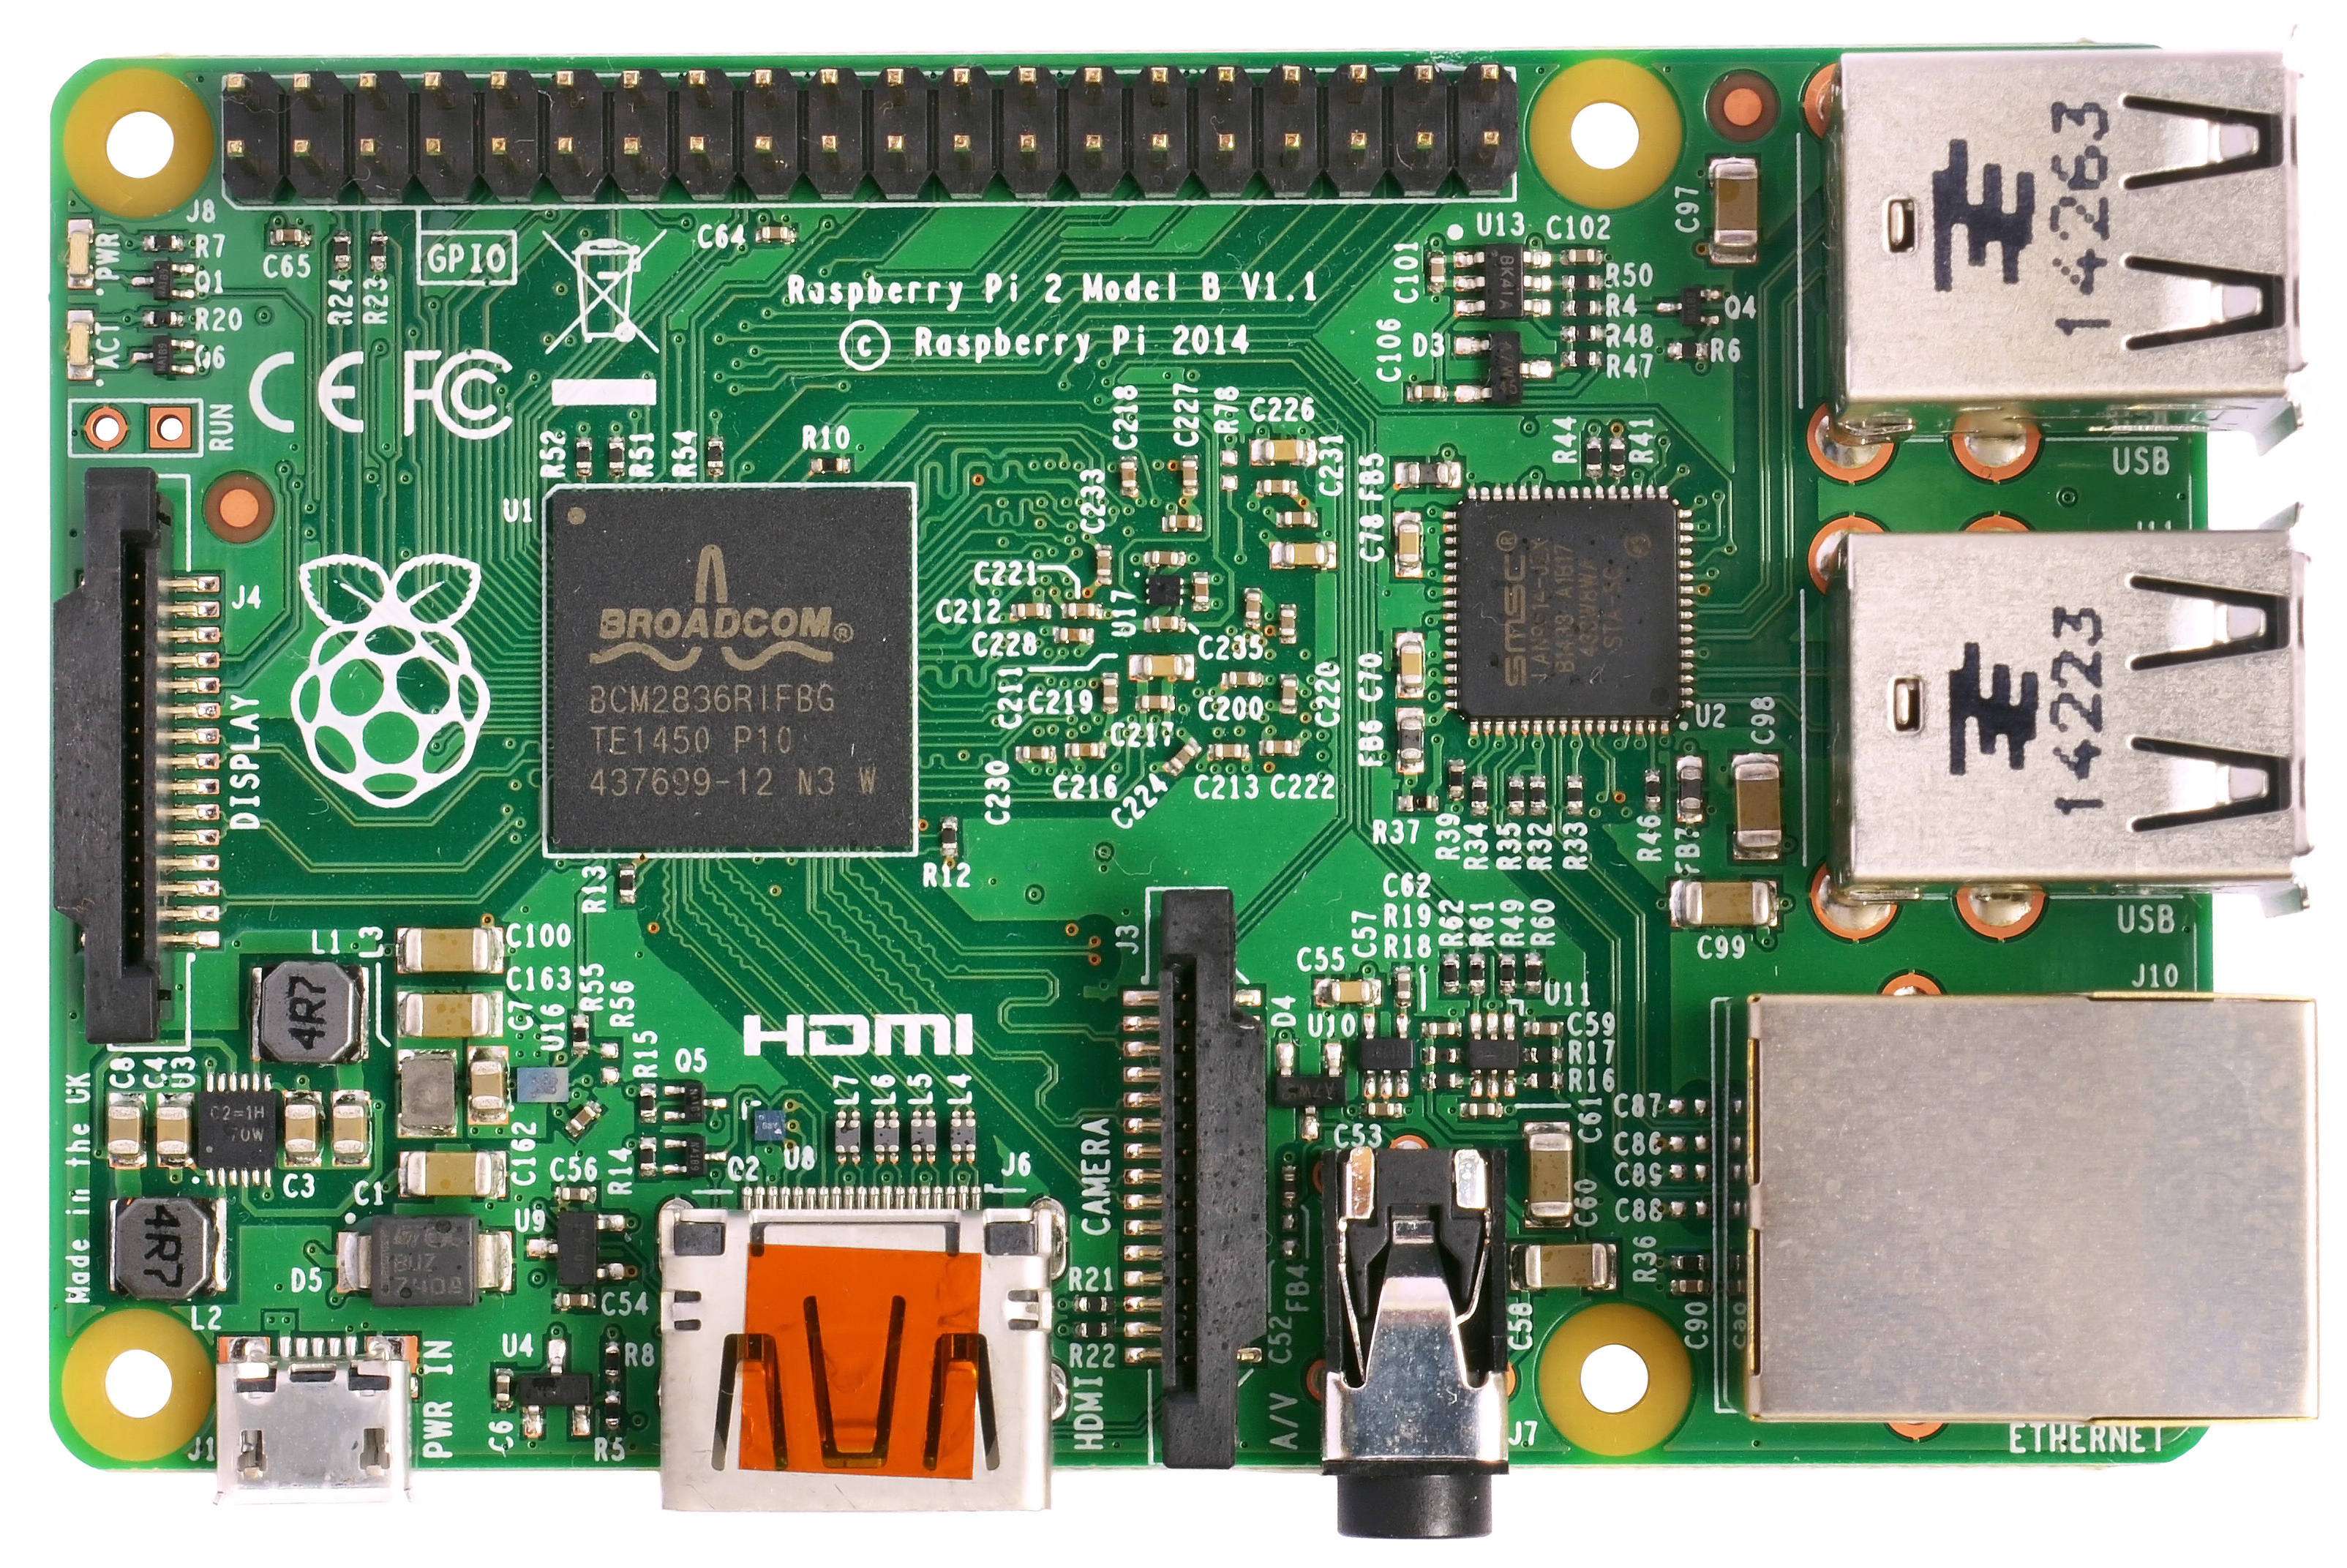
1. Raspberry Pi unit
2. MicroSD card (raspberry pi hard disk)
3. Mouse, Keyboard, power adapter.
Soft wares:
1. Raspberry Pi OS (Raspbian- debian for Rsp)
-the OS image (Raspbian Jessie: Debian for Rsp) can be downloaded from raspberrypi.org
2. SD card formatter
3. Win32 Disk Image installer for windows (in case you have the .img file)
4. For MAC user please refer to the link below for preparing the SD card.
What you have to do?
1. Insert your SD card into your computer/notebook and format by using the SD card format software
Windows
- Download and install the SD Association’s Formatting tool from https://www.sdcard.org/downloads/formatter_4/eula_windows/
- Open the Application you have just installed
- Set “FORMAT SIZE ADJUSTMENT” to ON in the Options menu.
- Make sure you have selected the Drive your SD Card is inserted in
- Click “Format”
Mac
- Download and install the SD Association’s Formatting tools from https://www.sdcard.org/downloads/formatter_4/eula_mac/
- Select “Overwrite format”
- Make sure you have selected your SD Card, and not something else
- Click “Format”
Linux
- Use gparted (or the command-line version parted if you prefer), if you don’t have it, install it as you usually would.
- Format the entire disk as FAT32 (FAT16 will not work! Make sure you select the correct disk!)
2. Unzip your selected OS and copy the whole files into your SD card. Or use the window image installer (for the .img file) to install your OS into the SD card
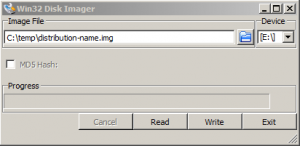
Using the Win32DiskImager program
- Download the distribution from the http://www.raspberrypi.org/downloads or from a mirror or torrent. Make sure the distribution is for the Raspberry Pi, as others will not work. Usually these are zipped (compressed) files ending in .zip or .gz (something like “distribution-name.zip”).
- Extract the image file from the downloaded .zip file, so you now have “distribution-name.img”.
- Insert the SD card into your SD card reader and check what drive letter it was assigned. You can easily see the drive letter (for example G:) by looking in the left column of Windows Explorer. You can use the SD Card slot (if you have one) or a cheap Adapter in a USB slot.
- Download the http://sourceforge.net/projects/win32diskimager utility (it is also a zip file). You can run this from a USB drive. Win32DiskImager screen
- Extract the executable from the zip file and run the Win32DiskImager utility; you may need to run the utility as Administrator! Right-click on the file, and select ‘Run as Administrator’
- Select the image file you extracted above.
- Select the drive letter of the SD card in the device box. Be careful to select the correct drive; if you get the wrong one you can destroy your data on the computer’s hard disk! If you are using an SD Card slot in your computer (if you have one) and can’t see the drive in the Win32DiskImager window, try using a cheap Adapter in a USB slot.
- Click Write and wait for the write to complete.
- Exit the imager and eject the SD card.
- You are now ready to plug the card into your Raspberry Pi
For Mac user please check out the http://elinux.org/RPi_Easy_SD_Card_Setup
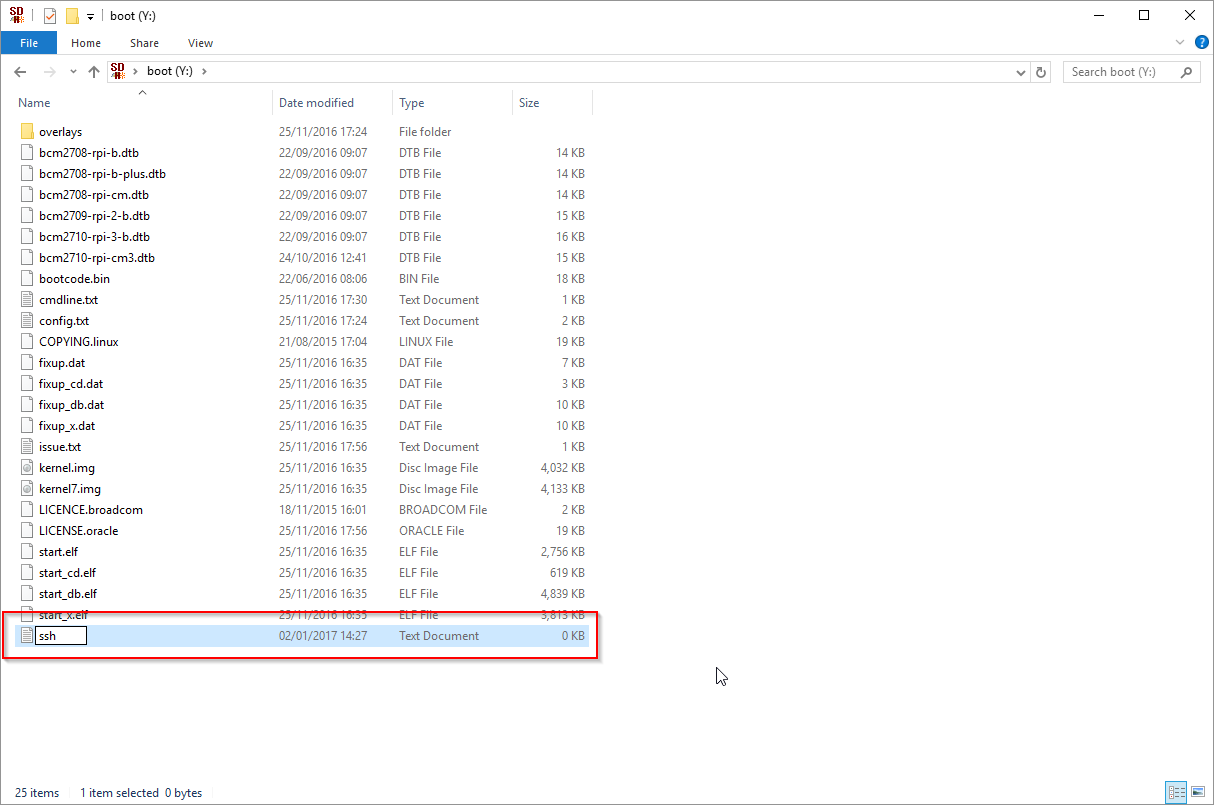
Add “SSH” File to the SD Card Root
Enable SSH by placing a file named “ssh” (without any extension) onto the boot partition of the SD card:
3. Insert your micro SD card into your raspberry pi then turn on your raspberry pi and you are done! 🙂
Some commands to update and upgrade your system applications.
(make sure that you already connect your Rsp to the internet)
-To update, open your terminal then type “sudo apt-get update“
-To upgrade, open your terminal then type “sudo apt-get upgrade“